How to Add New Product Variants on Shopify
Navigate to Product Options To Create a New Option
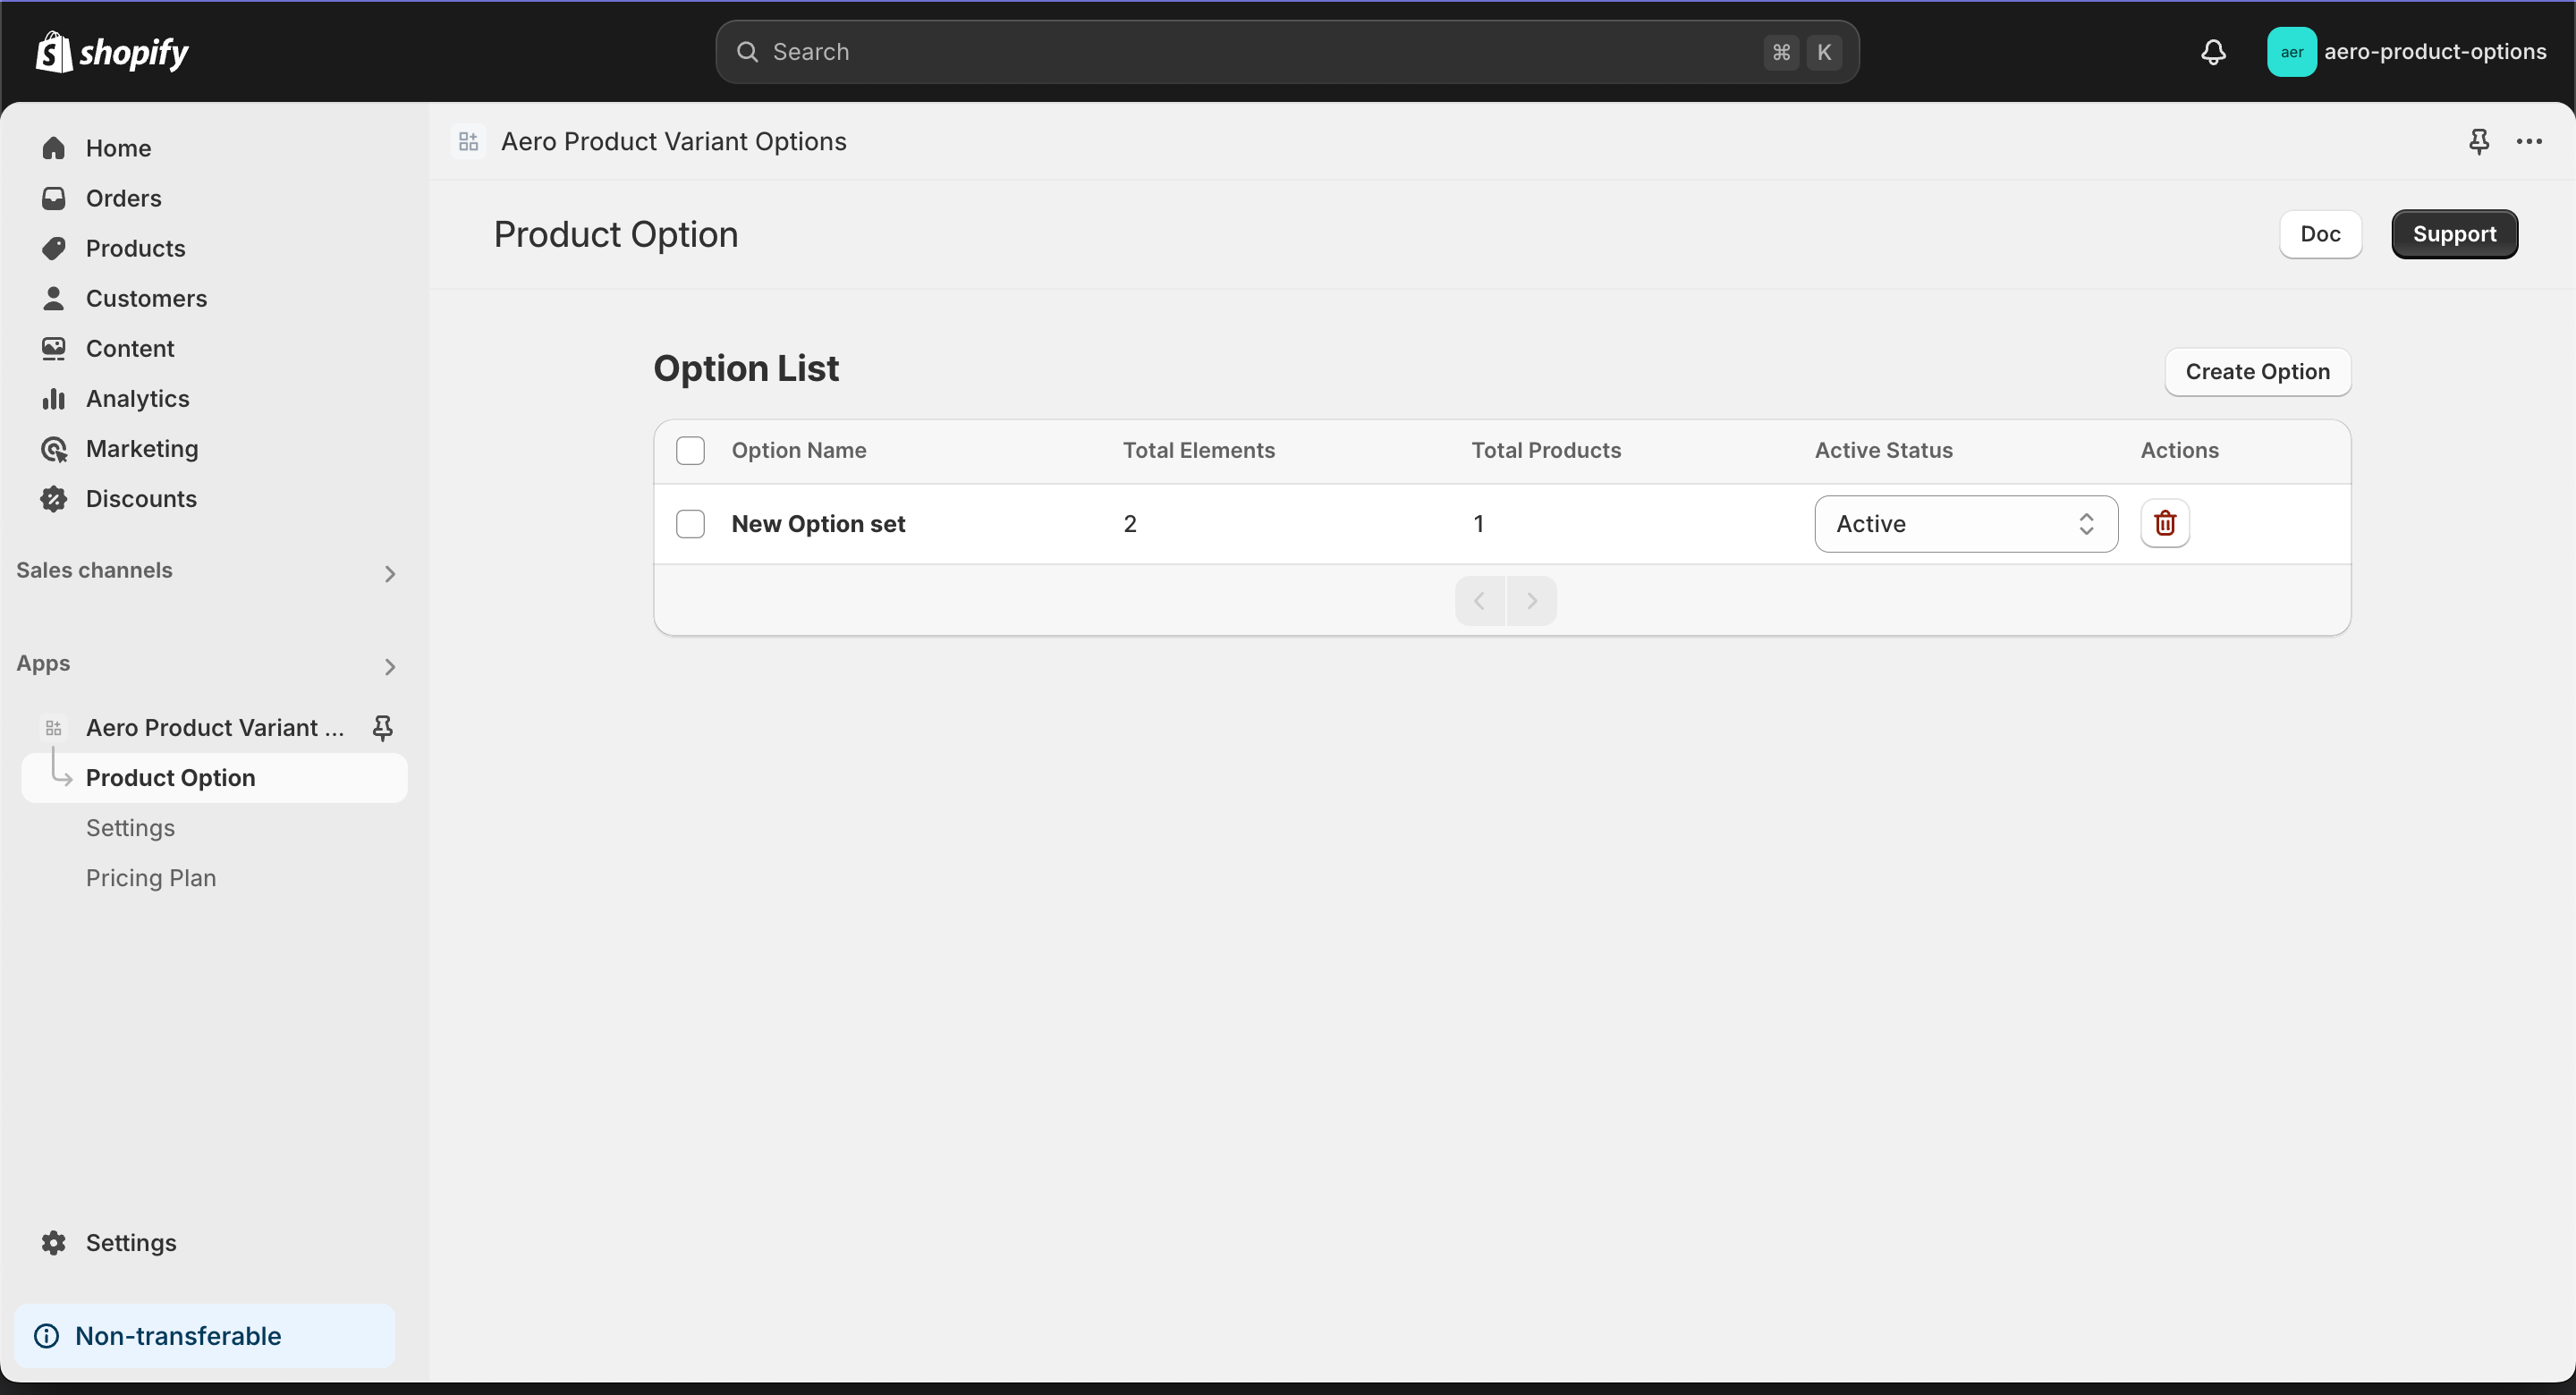
Go to Apps>Product Option on the Sidebar
From the Product Option sets, click Create Option –
Add Custom Options
After clicking Create Option, you will see the Aero Product Variant Options like –


Upon clicking the Add Option under Custom Options, you will see-


It has four types of custom options which include:
- Single input type: Text, Text area, Number, Datetime, File, Switch.
- Choice list type: Dropdown, Checkboxes, Radio buttons.
- Swatch type: Buttons, Color swatches, Image swatches.
- Static text type: Paragraph, Heading, Divider, Popup-Modal.
Adding Text Field
For example, if you click on Text Field, you will see-


Text Field Edit Options
There is a preview showing side-by-side of the product and there is also hide, edit, and delete option ( Icon ) beside the text field under Custom Options


You can see the option name, label, and checkbox to make it a required field. There are also minimum and maximum character restrictions and a Placeholder inputting option. For example-
Example For Text Field Preview


Adding Text Area
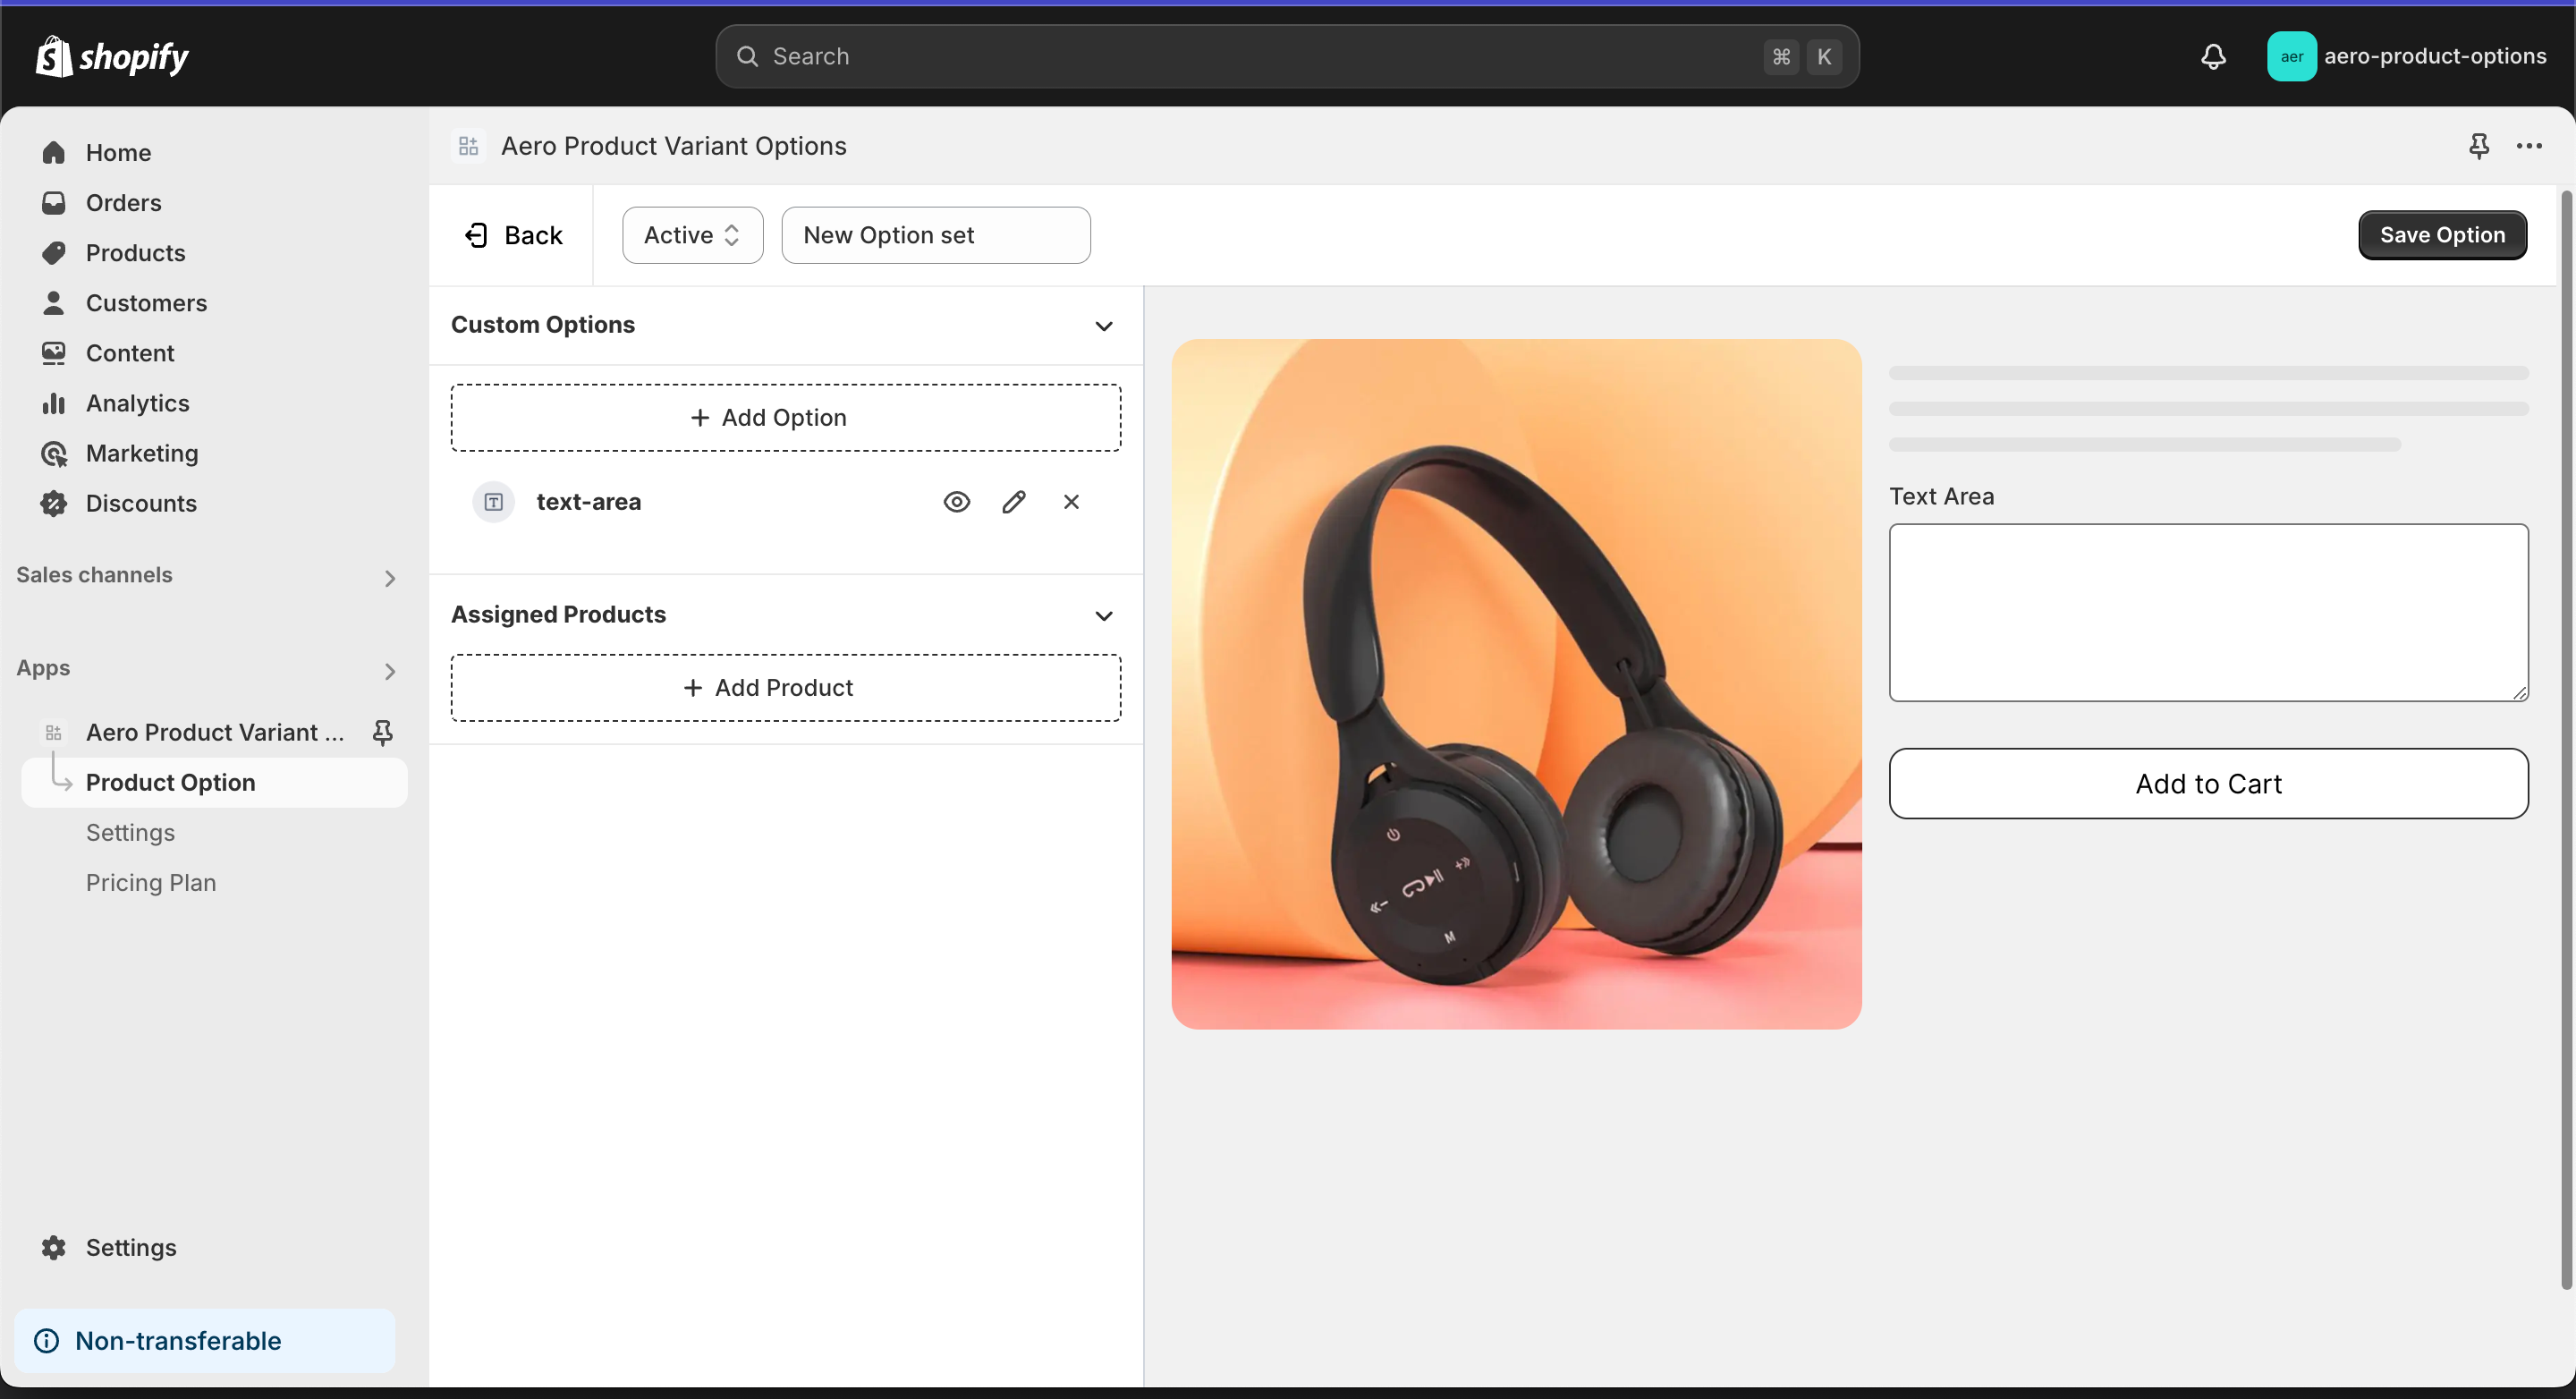
Click on the Text Area under Custom Options –


You will see this side-by-side preview come up-

Example For Text Area Preview
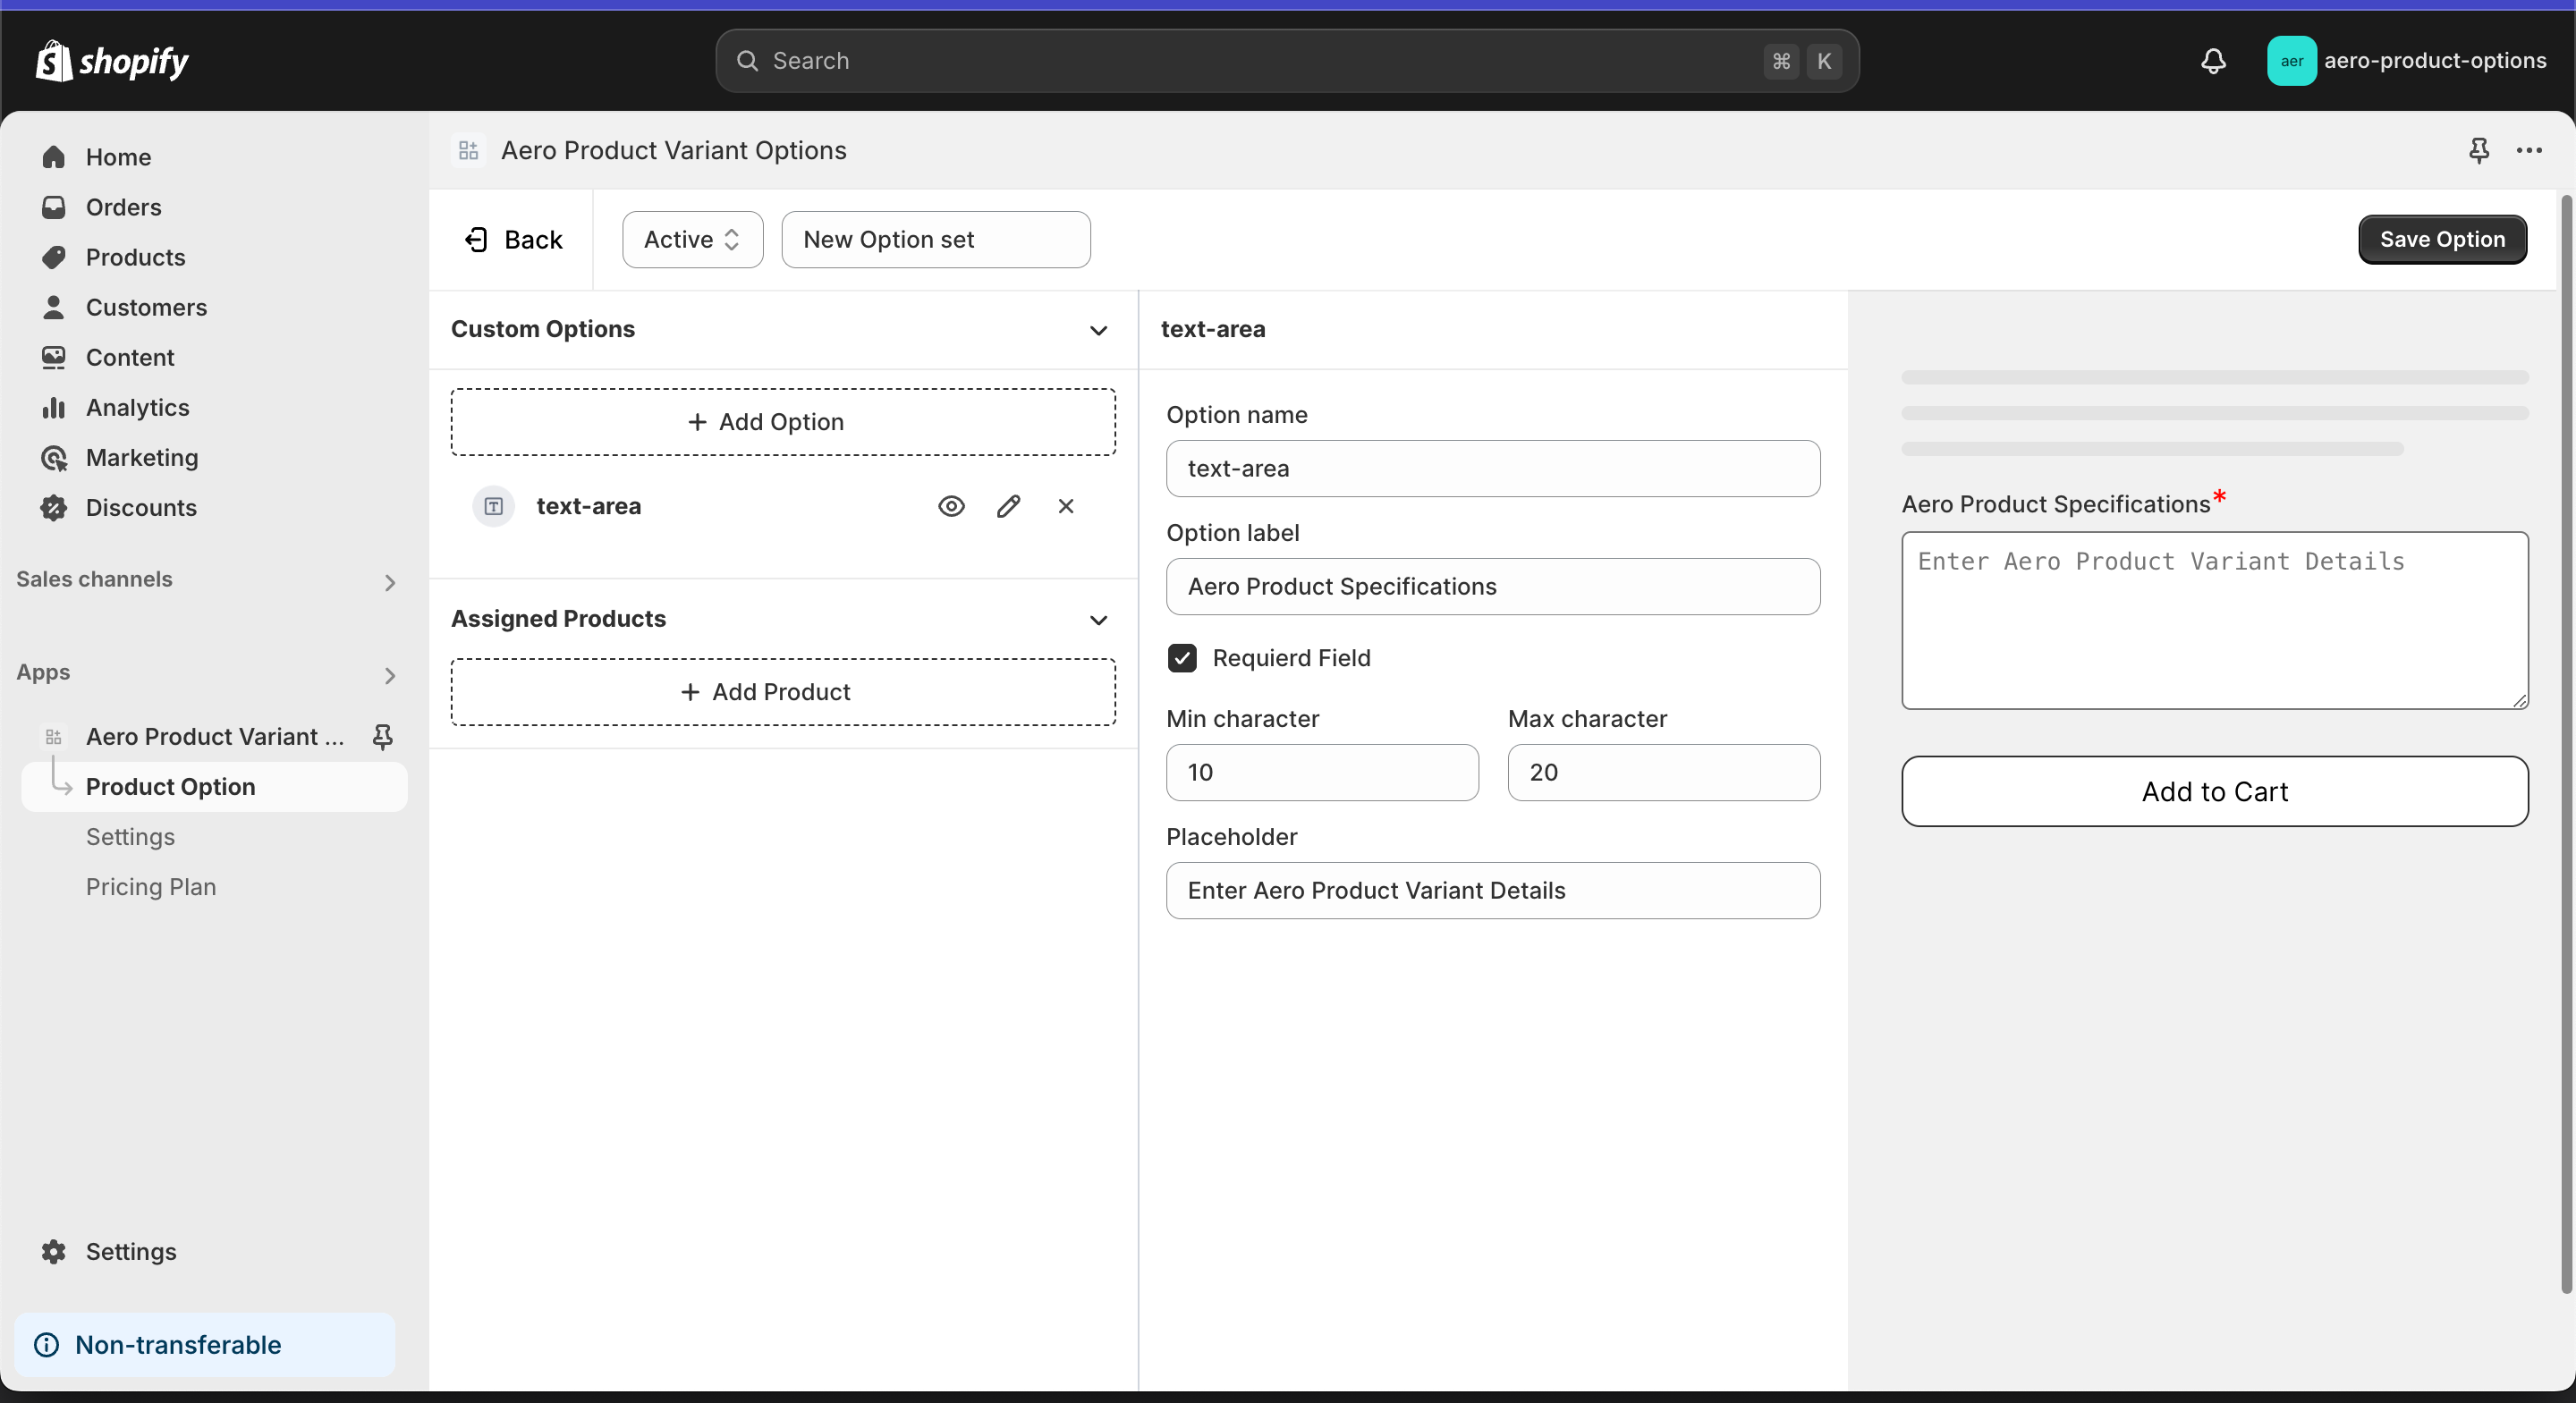
Upon clicking the edit option you will find option name, label, minimum and maximum character limit with placeholder option-

Adding Dropdown
Choose Dropdown from Custom Options-


Dropdown Edit Option
After clicking edit on the dropdown option, you can see the Label and Value to be input for the dropdown along with the placeholder.


Example For Dropdown Preview


Adding Checkbox
Choose Checkbox from Custom Options-


Checkbox Edit Option
Upon clicking the edit option on the checkbox, you will find the option name, label, required field checkbox, label, and the value of it with adding more options-


Example For Checkbox Preview


Adding Radio Button
Choose Radio Button from Custom Options-


Radio Button Edit Option
Upon clicking the edit option on the radio button, you will find the option name, option label, required field checkbox, radio button label, and the value with adding more options down-


Example For Radio Button Preview


Adding Date Picker
Choose DatePicker from Custom Options-


Date Picker Edit Option
Upon clicking the edit option on the Date Picker, you will find the option name, option label, required field checkbox, and a date range like below-


Example For Date Picker Preview


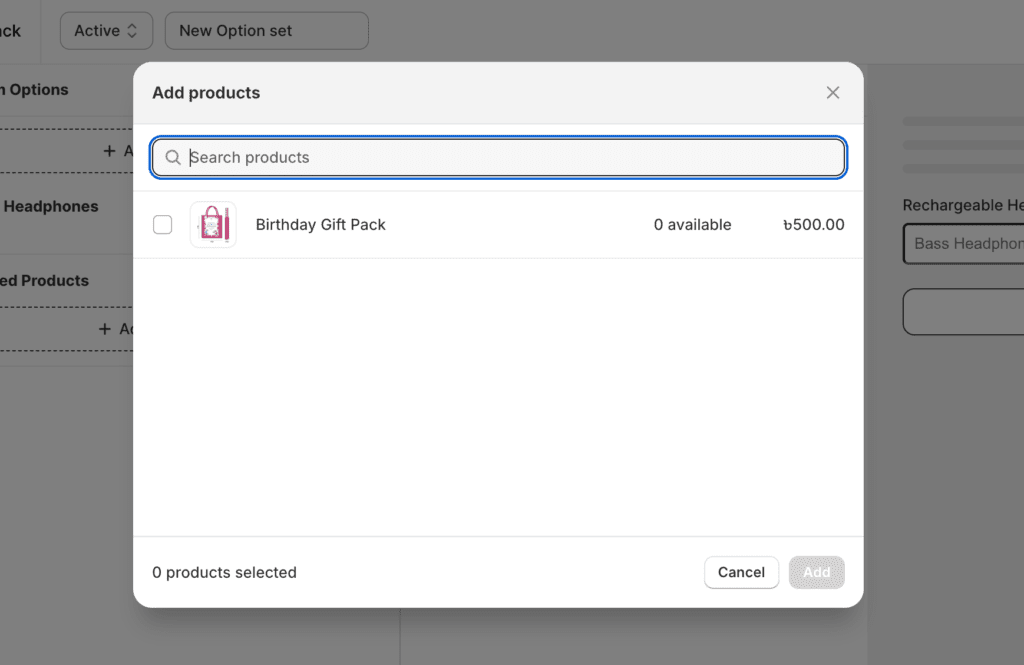
Adding Assigned Products
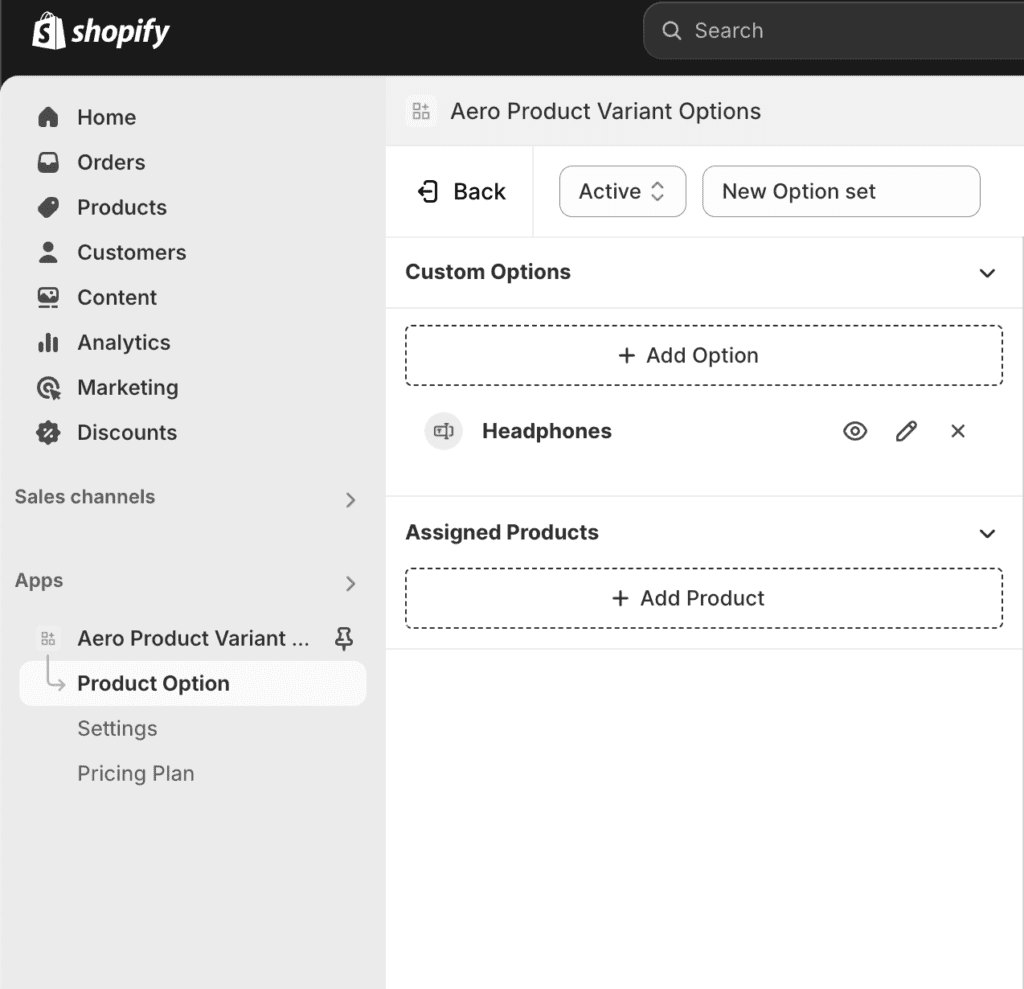
Now if you click on Assigned Products, you will see-


Save Option
Lastly, You can Save an Option by clicking on the Save Option Button, like this-


